3D Maya 06: Import Image Blueprint And Model Airplane
This lesson is about importing blueprint imges into your Maya document.

{youku}XMjY3OTU2OTQ4{/youku}
If you cannot access the teachers computer, please copy the file below

Remember to set your project folder.
File > Project > Set
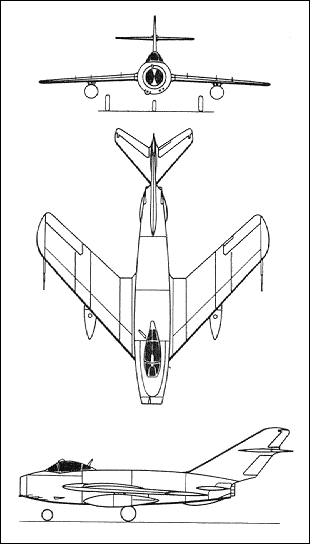
Open the blueprint image in Photoshop. Crop image to exact dimensions
[Ctl + R] Rulers
Make a note of how big your image is.
Give your image a descriptive name eg: 'mig_top.png' Save your images in the source images folder inside your project.
Open Maya.
Again, please remember to set your project folder.
In a camera view go:
View > Image Plane > Import Image
The default location is your source images folder. Select 'Best Guess'. If you do not see your images here, you did not set your project folder, and I will be angry if I find out you were not listening to me.
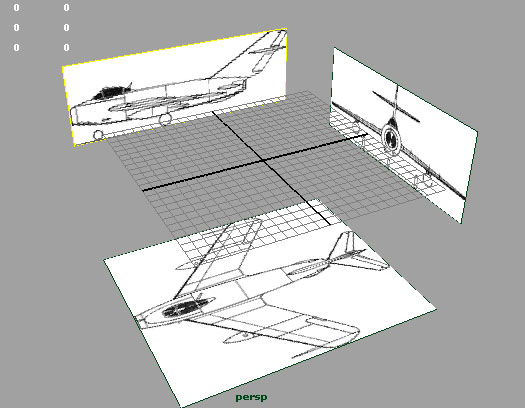
Import the appropriate images into the corresponding camera view. You should have three images like the image below.
Some blueprints have the top view pointing the opposite way. You may need to go back to photoshop and rotate the image to be correct.
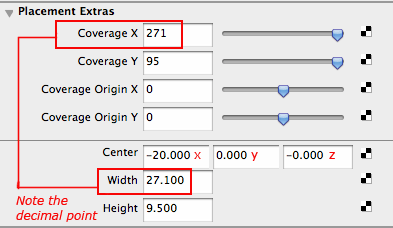
the images may be incorrect sizes. They need to be adjusted in the image plane attributes.
View > Image Plane > Image Plane Attributes > ImagePlane1
Make sure you have your channels option menu open

Input the correct size of the image. You may need to enter a decimal point. Do this for all images.

Last, we want to move the images to the sides of the grid. Go back to image and adjust its location.
Save your work, you are ready to make your model.
Making the model airplane
Keep your polygon cylinder simple - 8 sides
Cut in half
Remember to use global extrude.
Edit > Duplicate Special
Scale setting of -1 on the x scale options
Mesh > Combine
select all vertices along the middle
Edit Mesh > Merge
{youku}XMjY3OTc1NDUy{/youku}